
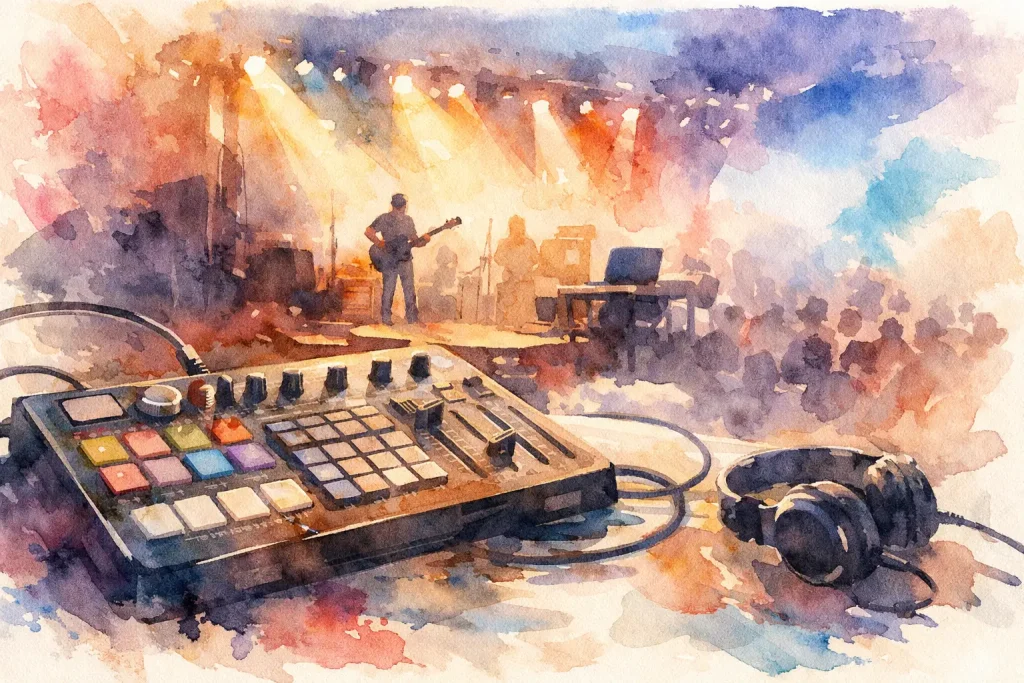
Archive: KLEMENTZ no longer builds bespoke MIDI controllers. This article stays online for its method, not as a service offer. Today we design the KLEMENTZ Dub Mixer.
A controller that looks perfect on paper can become a nuisance from the very first time you use it: a button too close to a fader, an essential function hidden away in a layer, a USB cable dangling in the wrong place. So, specifying a bespoke MIDI controller doesn’t start with the number of buttons. It starts with the action you want to perform, at the very moment the riddim is playing and there’s no time to search around.
For a selector, a DJ or a sound system operator, the right controller isn’t the one with the most functions. It’s the one that puts the right actions at your fingertips, in the right order, with a crisp response. It can control software, a chain of effects, a sampler, a turntable or several machines at once. But every control must serve a purpose.
Specifying a bespoke MIDI controller: starting with the performance
Before we talk about CCs, MIDI notes or connections, describe a real-life session. Is it a controller that sits next to a mixer to trigger sirens and effects? Is it the centrepiece of a hybrid set with a computer? Is it a compact unit that you pull out of a bag to play at home, at a party or in a club?
This question determines almost everything. An operator controlling an external delay will need direct access to time, feedback and effect level. A DJ working with loops and cue points will instead need clear-cut pads that are easy to locate without looking. For a dub set, a long, well-placed fader can be more important than eight secondary encoders.
Also specify what needs to remain permanently accessible. A function used once per set can be assigned to a selector or a combination of controls. A function used at every transition must have its own dedicated control. That’s the difference between a machine designed for performance and a control panel filled out out of habit.
Define the role of each zone
The controller benefits from being organised by groups of actions. One zone can handle the mix, another the effects, and another the triggers. This reduces errors when the pressure is on. On a small surface, visual and tactile order is more important than perfect symmetry.
Also bear in mind which hand is doing the work. If your right hand is already adjusting a filter or delay on the mixer, the most urgent MIDI controls should logically be on the left. If you’re playing standing up in low light, the spacing between controls, their height and their texture become just as useful as their labels.
Choose controls before MIDI messages
A potentiometer, an encoder, a fader and a button do not convey the same information to the player. The choice must be based on the nature of the parameter, not just the space available on the front panel.
A detented potentiometer is suitable for a value that has a clear start and end: gain, level, cut-off frequency or effect amount. Its position immediately indicates where you are. On the other hand, if you’re recalling presets in software, the discrepancy between the physical position and the stored value can be annoying. In such cases, a ‘soft-start’ mechanism must be provided to ensure the parameter does not jump at the very first movement.
A continuous encoder is better suited to navigation, bank selection or parameters that change with presets. The trade-off is simple: it does not show its position without visual feedback. LEDs, a display or a colour-coding system can then be useful, but they add to the cost, power consumption and the number of choices to be made.
Faders remain the kings of continuous movement. For an effects level, filter opening or software crossfade, their travel offers a level of precision that few controls can match. The length depends on the action: a small fader may suffice for a monitor level, whilst a performance crossfader requires a fast, stable and immediately readable action.
Buttons must be unambiguous. A momentary button is ideal for a siren effect, a mute or an effect that remains active whilst your finger is pressed down. A latching button is suitable for a function that remains active. For pads, specify the desired feel: light triggering, a firmer attack, velocity sensitivity or an identical response with every strike. This detail changes your relationship with the machine.
Defining MIDI behaviour to avoid surprises
Once the controls have been chosen, you need to decide what they send. MIDI isn’t complicated, but vague specifications can quickly lead to unpredictable behaviour on stage.
Continuous parameters most often use Control Change (CC) messages. For each control, note its MIDI channel, CC number and range of values. A button can send a MIDI note to trigger a sample, or a CC to activate an effect. Both solutions work, provided the software or device in question expects them.
For encoders, choose between absolute and relative operation. In absolute mode, the control sends a value between 0 and 127. This is straightforward for a potentiometer. In relative mode, the encoder sends only ‘up’ or ‘down’. This is often the safest choice for browsing presets or adjusting a parameter without sudden jumps in value.
Resolution is also worth mentioning. Standard 7-bit MIDI offers 128 steps, which is more than enough for many levels, filters and effects. For finer control, some equipment supports 14-bit resolution, but this option only makes sense if the entire system supports it. Adding precision on paper is pointless if the software then scales the signal back down to 127 values.
Don’t forget MIDI feedback. If your controller needs to reflect the status of software, a device or a bank, the LEDs and indicators must receive feedback. This is particularly useful for knowing which effect is active, which preset is loaded or which layer is selected. Without feedback, a multi-page interface can quickly become confusing.
Consider on-site ergonomics
A clean front panel isn’t enough. The specification must specify the intended dimensions, whether it’s for use whilst standing or sitting, the viewing angle and transport requirements. A unit designed for travel must be compact, but not at the expense of controls being crammed together. The right format is one that fits into your setup without forcing you to relearn your workflow.
Position critical controls away from accidental activation. A stop button, master mute or bank-switch should not be located where your forearm passes. Conversely, a siren, kill switch or punctuation effect must be accessible without taking your eyes off the track.
Lighting requires the same discipline. A few well-placed LEDs provide immediate information. Too many colours, flashing lights and animations eventually interfere with your performance, especially in a dark booth. Define what each colour means and stick to that logic throughout.
Power supply, connectivity and integration
A bespoke MIDI controller must clearly indicate its power requirements. USB only or an external power supply? Connection to a computer, a USB host, a MIDI DIN port, or all three? Every decision affects the weight, ease of connection and compatibility with the rest of the rig.
For a portable setup, USB power can lighten the load and reduce the number of sockets. For a larger setup, MIDI DIN connectors remain practical for standalone devices and certain effects processors. If the controller is situated near a mixer, consider the cable routing, the location of the headphone socket, any existing power supplies and the actual space available on the desk.
The casing is just as important as the electronics. It must withstand transport, repeated handling and the vibrations of a busy session. A clear front panel, carefully fitted controls and a design built for practical use are all part of the sound, as they allow you to play without restraint.
The brief to be given to the manufacturer
A good specification should not read like a wish list. It must enable the machine to be costed, designed and tested without the manufacturer having to guess at your intentions. For each component, state the musical function before the technical specification.
Include at least:
- the main performance scenario and the equipment to be controlled;
- the list of commands, their type and their priority;
- the desired front-panel layout, even if hand-drawn;
- MIDI messages, channels, banks and LED feedback requirements;
- format, power supply and connectivity requirements;
- the non-negotiable elements, followed by those that may change.
At KLEMENTZ, this ‘function first’ approach is the same as for the KLEMENTZ Dub Mixer: minimising the number of units and cables, maintaining direct control, and leaving room for creativity. The best brief doesn’t ask ‘how many features can we add?’. It asks which features will let you play more freely, from the first track right through to the last echo.
